Key Insight: Crafting a seamless e-commerce experience requires precision and attention to detail. From filtering products to sorting by price, every step counts. Don’t forget to clear filters for a fresh start! Keep it fun and simple, just like shopping should be. 🎉
Introduction
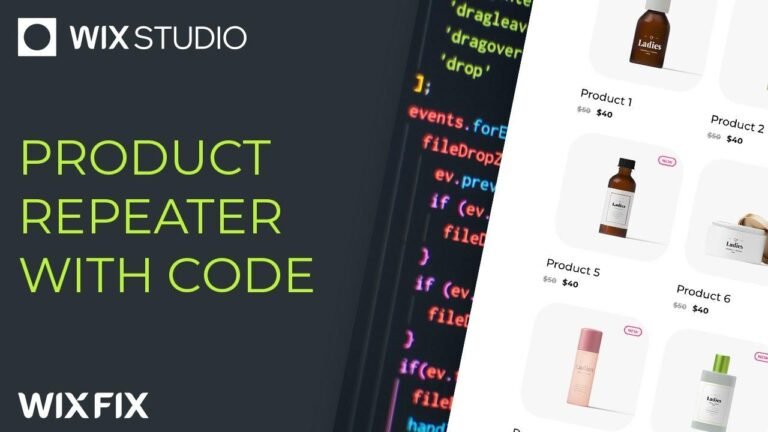
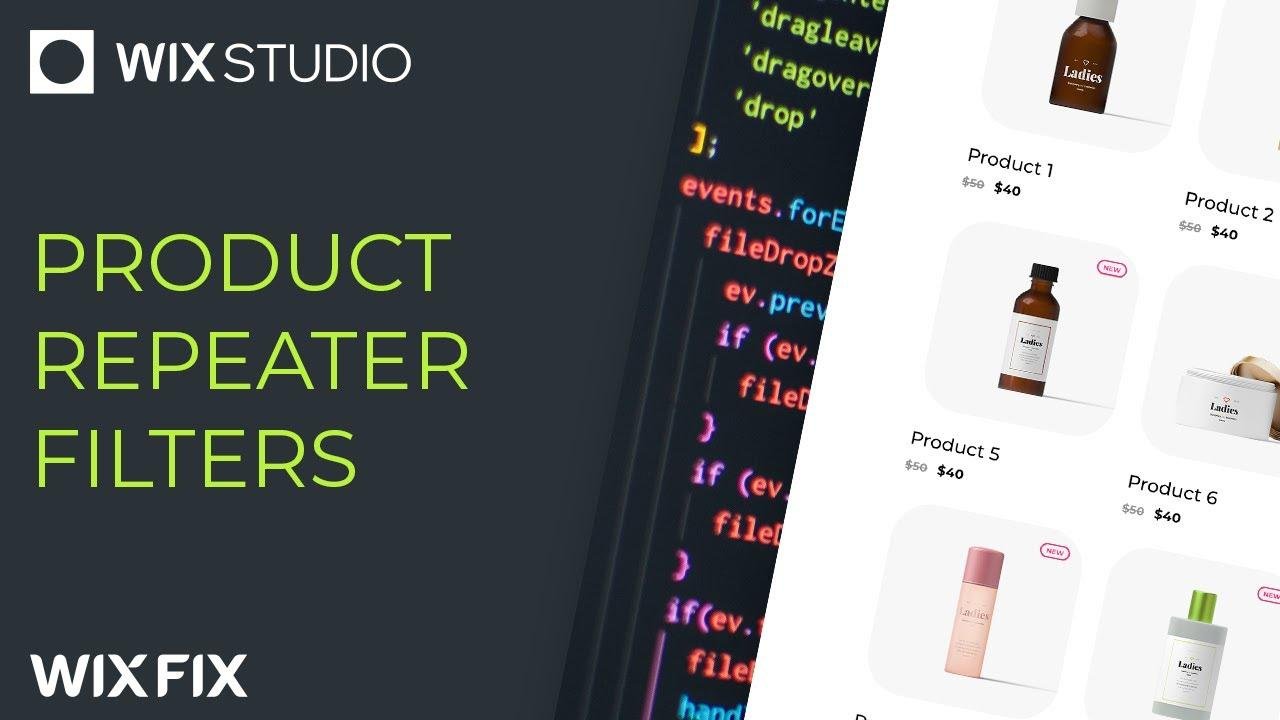
Hello everyone! I hope you’re having a fantastic day. My name is [NAME] and today, we’ll be talking about a common issue when creating an e-commerce website using Wix. Specifically, we’ll be showing you how to create a product list repeater filter, and how to fix any issues that may arise. So if you’ve been following our e-commerce series for some time, you’re probably familiar with our product pages. In our last video, we discussed using Wix WIS (Wix Corvid Integrated Storage). Today, we’ll dive into how to create a product list repeater filter. So sit back, relax, and if you find this video helpful, be sure to leave a like and show us some support. Let’s dive right into it!
Getting Started
To set up the filter, we first need to gather all the categories available in our stores. This will allow us to present the users with a dropdown menu to choose from. To do this, we’ll be utilizing an asynchronous function. We need to populate a collection of products rather than simply querying for individual products. We’ll use the code const result = await data.query. This will return the items from our collections of products, which will allow us to list out various categories for users to choose from.
Table: Categories Options
| Categories |
|—————–|
| Clothing |
| Food |
| Electronics |
| Home Appliances |
| Toys |
Creating the Dropdown Menu
The categories that we’ve gathered will be used to create a dropdown menu, which we’ll be featuring on our product page. We use the names of the categories for the dropdown options and the IDs of the categories as the values of those options. This will then be used to generate a unique query for each category. For this, we’re going to use the field name and collections of items such as clothing, electronics, and so on.
List: Categories IDs
- Clothing (ID: 1234)
- Food (ID: 5678)
- Electronics (ID: 9123)
- Home Appliances (ID: 4567)
- Toys (ID: 8912)
Implementing the Category Filter
Once we’ve set up the dropdown, we also need to handle changes in the category selection. This can be done by creating an event listener or function. After this, we’ll have to set up a filter that matches the selected category with the corresponding products in our database.
Setting Up Max Price Filters
Moving forward, we’ll provide users the ability to filter products based on their prices. Users will be able to enter specific dollar amounts, and our system will then filter and display products based on the given range. We also need to convert these prices into numeric values to ensure accurate comparisons.
Table: Price Range Filter
| Min Price | Max Price |
|———–|———–|
| $0 | $100 |
| $100 | $250 |
| $250 | $500 |
| $500 | $1000 |
Conclusion
In conclusion, by creating proper filtering options, such as category listings and price range selection, we can significantly enhance the user experience on an e-commerce website. By allowing users to specify their preferences, we’re effectively improving the overall functionality of the site.
Key Takeaways
- Creating an automatic category drop-down menu can provide users with an easy selection process.
- Max price filters facilitate user decision-making by enabling price range-based product listings.
- Thoughtful and precise filtering can lead to a better user experience and increased engagement.
Should you have any questions or issues, feel free to refer to this guide. We’re here to help!