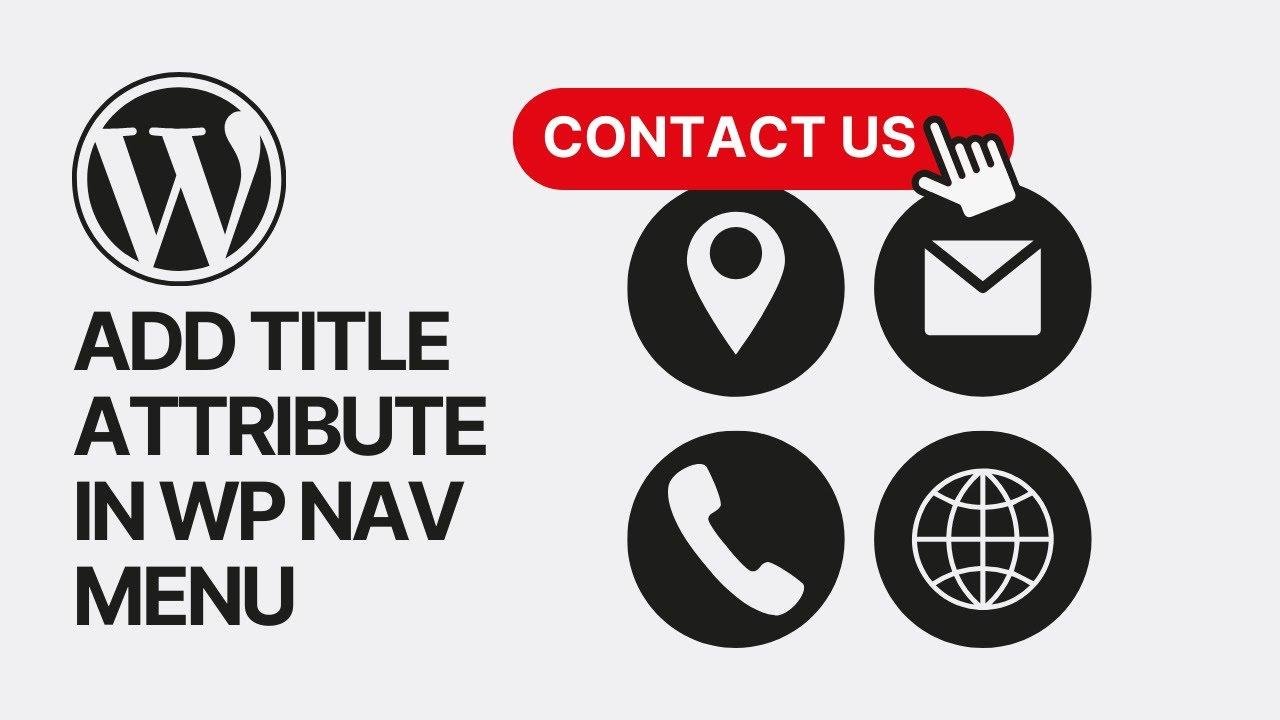
Adding title attributes to your navigation menu can make your website stand out. By using unique and descriptive titles, you can create a more engaging user experience. Simply go to your WordPress dashboard, navigate to the appearance section, and click on menus. Then, enable the title attributes option in the screen options menu. With this simple trick, you can customize each menu item with witty and attention-grabbing titles. It’s a game-changer for your site’s navigation, so go ahead and give it a try! 😉
In today’s tutorial, we will learn how to add title attributes to our WordPress navigation menu items to create simple, fast, and effective tooltips that describe each menu item when hovered over. This feature can be added in classic themes such as R and Zoo WordPress themes.
Navigating to the WordPress Dashboard 🖱️
The very first step is to navigate to your WordPress dashboard. Here’s how you can do it:
- Hover your mouse over the "Dashboard" on the left sidebar.
- Click on "Menus" under the "Appearance" section.
Accessing Screen Options and Adding Title Attributes 🛠️
Once you are in the "Menus" section, follow these steps to add title attributes to your navigation menu items:
- Click on the "Screen Options" menu in the upper right corner next to your profile photo.
- Select "Title Attributes" from the additional options.
- Open any menu item, and you will now see the option to add a title attribute along with the navigation label.
- Type your desired attribute, such as "Buy with us", and save your changes by clicking the "Save Menu" button.
Reviewing the Results and Customizing All Menu Items ✅
After adding title attributes to your menu items, you can hover your mouse over each item to see the tooltips. You can customize the tooltips for every single menu item on your website, making it simple, easy, and effective to implement.
In the case that you want to learn how to add title attributes in block themes, stay tuned for tomorrow’s video. Don’t forget to subscribe to our channel!
In addition to the tutorials, we also offer premium themes, blocks, plugins, templates, icons, and many other pro features on our platform. Visit VisMoto.com to explore the full range of customization options for your website.
Conclusion 🌟
Adding title attributes to your WordPress navigation menus can greatly enhance the user experience and provide meaningful descriptions for each menu item. This simple feature can be implemented in classic themes and block themes with ease, allowing you to customize your website navigation according to your preferences.
Key Takeaways 📝
Here are the key takeaways from this tutorial on adding title attributes in WordPress navigation menus:
- Navigating to the WordPress dashboard and accessing the "Menus" section.
- Using screen options to add title attributes to menu items.
- Customizing tooltips for each menu item to provide meaningful descriptions.
FAQ ❓
Q: Can I customize the title attributes for different types of themes in WordPress?
A: Yes, the process of adding title attributes is applicable to both classic and block themes in WordPress.
Q: Is it possible to add title attributes to nested menu items as well?
A: Absolutely! You can add title attributes to both main and nested menu items in your WordPress navigation.
By following the steps outlined in this tutorial, you can enhance the functionality of your WordPress navigation menus and provide users with informative tooltips when they hover over menu items. We hope you found this tutorial helpful, and we look forward to sharing more WordPress tips and tricks with you in our upcoming videos. Don’t forget to subscribe and stay updated with our latest content!