Crea tu sitio web con Squarespace en 7 minutos. Regístrate para una prueba gratuita de 14 días y un descuento del 10% en cualquier plan. Elige una plantilla, personaliza tu sitio, añade páginas y ajusta el estilo. Asegúrate de que se vea genial en dispositivos móviles y publica tu sitio para que el mundo lo vea. 🚀
Summary
Squarespace is a platform that provides all the tools necessary to build a website, offering a wide range of templates for various website types. This tutorial will guide you through the process, helping you to get started by providing you with several essential steps. You will learn about signing up, creating customized templates, and editing pages with blocks and various media options. You will also learn how to modify the header and footer and select different themes and colors before publishing your website.
Getting Started
If you’re looking to create your first website with Squarespace but don’t know where to start, this quick guide will walk you through all the essential steps to build your Squarespace website from scratch. The first step is to sign up on Squarespace using a special registration link, offering a 14-day free trial and an exclusive 10% discount on any Squarespace plan. Follow the link in the video description to take advantage of these offers.
| Trials: 14 days |
| Discount: 10% |
Choose a Template
Once you’re registered, click on "Get Started" and select the type of website you would like to create. You can choose between pre-designed templates or use Squarespace’s new blueprint feature to create a custom template. In this video, we will begin with a pre-designed template, so let’s start exploring the variety of templates available.
- Select a template optimized for different website types.
- Preview each template before choosing.
- Click "Start with this design" to proceed.
Customize Your Website
After signing in, assign a name to your website as you enter the Squarespace editor. Here, you can customize your website’s appearance by editing the text, adding blocks, galleries, and new section. To add a new section to the page or create a new page on your website, simply follow the provided instructions.
| Section/Block | Elements |
|---|---|
| Add new section | Gallery |
| Site Configuration | Page Editing |
|---|---|
| Add page | Edit text |
Navigate the Website
With your website saved and pages set up, you can navigate to rearrange or edit each page. To make changes to the website’s header and footer, you can upload your logo, add elements such as buttons or social media links, and replace and edit images as needed. Similarly, you can customize fonts, text styles, and color palettes to establish a unique style for your website.
- Edit site header to add logo and elements.
- Customize site footer by adding and editing blocks.
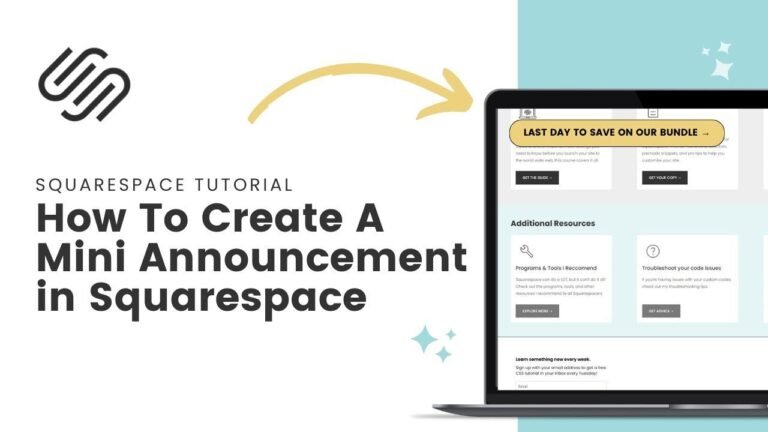
Publish Your Website
Once the appearance and style are set, ensure that your website works well on mobile devices and that everything looks good. Then, head to the settings, click "Availability," and choose a plan to publish. You can select a plan suitable for your website and decide on a yearly payment. By using the provided discount code, you can save an additional 10% on your chosen plan.
Remember:
- Make sure your website looks good on mobile.
- Choose a plan and use an available discount code.
| Plan | 10% off |
|---|---|
| Personal | Basic features |
| Business eCommerce | Advanced features |
Connect a Domain
To officially publish your website, you will need to obtain a domain. After selecting the desired domain, following the instructions will allow the new domain to be connected automatically to your website. Once complete, you are ready to publish your new website and share it with the world.
- Obtaining and connecting a domain to your website.
Conclusion
In summary, using this tutorial, you will be guided through all the steps necessary to create and customize a Squarespace website. Starting from the initial setup process, you will be instructed on how to navigate the website layout and customize the website design. After you create and organize your pages, you will make the final preparations to publish your entire website, ensuring you have chosen an appropriate plan, obtained a domain, and established a unique style.