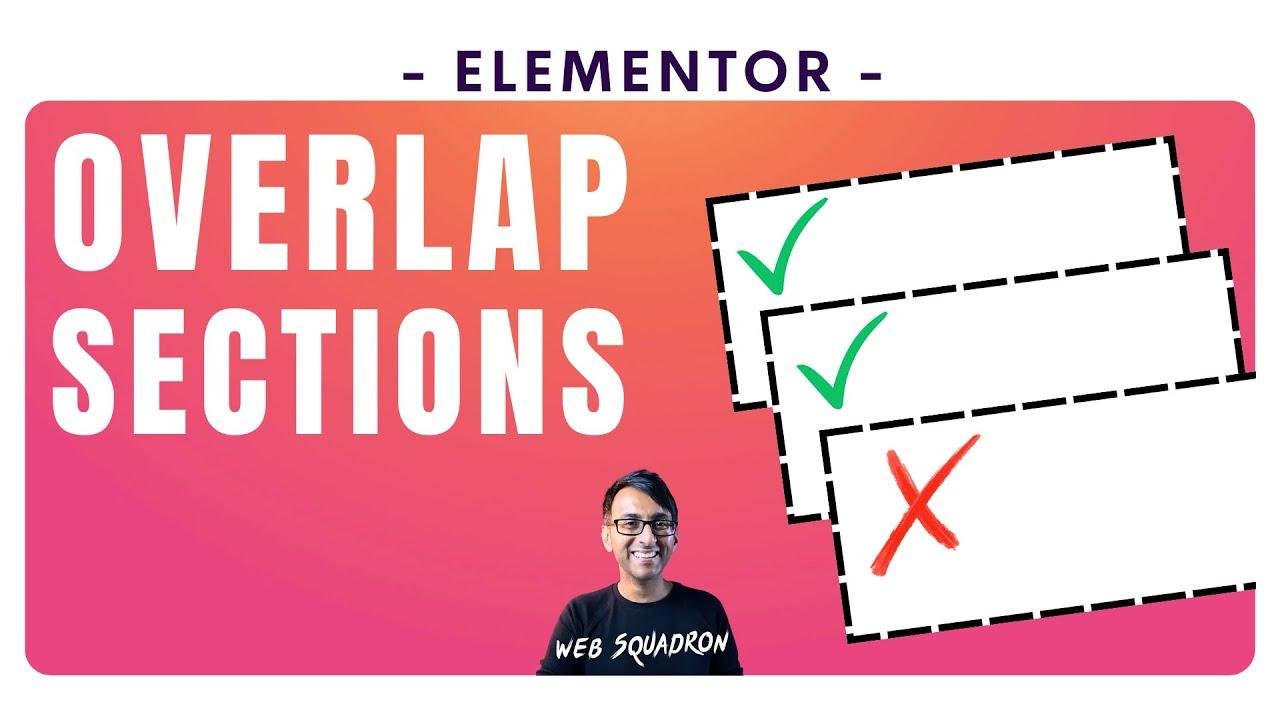
Juggling digital layers like a Vegas card shark, folks – 🃏🎲. Picture this: your webpage is a stack of pancakes, and you’re pouring syrup on. The third pancake’s got the sticky stuff, stops the flow. Now, pancakes four and five – they’re getting some slippery action, sliding right over that sticky situation. And just when you think it’s a sweet mess, the sixth and seventh pancakes, they lay flat, no more chaos. Be the boss of your pancake stack with some Z index and sticky-top wizardry. 🥞✨🔝
📐 Setting the Stage for Overlapping Containers with Z Index and Sticky Effect
When designing with Elementor in WordPress, achieving an overlapping effect for containers can greatly enhance your website’s visual appeal. Initially, we have a series of sequential containers from one to seven. The goal is to make containers four and five overlay container three as you scroll down the page. Containers one and two remain unaffected by this scrolling behavior.
🧩 The Basics of Container Manipulation
Adjusting individual container settings is straightforward and hinges on the use of Z Index and Sticky options. Container three, which is the base for subsequent overlap, must be set with a specific Z Index and designated as "Sticky Top" through the advanced tab and motion effects settings.
How to Apply Z Index and Stickiness to Container Three
- Navigate to Container Three
- Adjust the Z Index (e.g., Z=90)
- Set Sticky property to Top to lock its position during scroll
🚀 Making Containers Four and Five Overlap
With container three in place, the subsequent containers must be set to higher Z Index values to layer atop each other. This creates the desired stacking effect as the page is scrolled.
Configuring Containers for Overlapping Effect
- Container Four: Set Z Index higher than Container Three (e.g., Z=100) and apply Sticky Top.
- Container Five: Increase Z Index further (e.g., Z=110) and enable Sticky Top.
🌟 Ensuring Fluid Scroll Through Container Six and Seven
For a smooth transition, container six and seven are adjusted with an even higher Z Index, but without the sticky property, allowing them to flow naturally without the overlap sticking too much.
Tailoring the Final Containers for Scrolling
- Assigning Z Index for Container Six (e.g., Z=120)
- Increasing Z Index for Container Seven (e.g., Z=130)
✂️ Quick Fixes for Overlapping Issues and Sticky Adjustments
Sometimes, over-application of the sticky effect can lead to unwanted overlaps. The simple solution is tweaking the stickiness settings—specifically, by removing the sticky property from container five to avoid unintended overlap with subsequent sections.
🛠 Adjusting Stickiness for Optimal Container Behavior
To eliminate undesired sticking of containers, one should only apply the sticky effect where necessary, and remove it when overlap is to be avoided. It requires a bit of trial and error to get the perfect layout.
Tips for Polished Overlapping Sections
- Container Five: Remove Sticky to prevent it from sticking to Container Six
- Review: Ensure only Containers Three and Four retain the Sticky effect
Key Takeaways for Elementor Overlap and Stickiness Settings
| Containers | Z Index | Sticky |
|---|---|---|
| 1 & 2 | Standard | No |
| 3 (Base for Overlap) | 90 | Yes |
| 4 (Overlaps 3) | 100 | Yes |
| 5 (Overlaps 4) | 110 | No (Adjustment) |
| 6 & 7 | 120 & 130 | No |
🛠️ Technical Steps for Setting Up Sticky Overlapping Containers
Creating an engaging interface with overlapping sections is essential for a dynamic website experience. Elementor simplifies this process by allowing custom settings for each container.
🎨 Customizing Each Container for Desired Sticky Effects
You’ll need to individually configure each container to create overlapping effects. The primary tool is setting sticky properties and choosing appropriate Z Index values for each layer.
Techniques for Configuring Your Containers
- Access Advanced Settings within Elementor
- Use Z Index to layer and overlap containers
- Utilize Sticky Options to define scroll behaviors
🔄 Toggling Stickiness for Seamless Overlapping Control
It’s important to note that toggling the sticky option can significantly affect the website’s scroll dynamics. Remember, the control of the overlapping effect relies on precise application and sometimes removal of the sticky feature from certain containers.
🎛 Fine-Tuning Overlap Mechanics
Manual adjustment of stickiness and Z Index values is key to achieving a perfectly layered look. Here’s how you can ensure your containers overlap and interact seamlessly during scrolling.
Strategies for Adjusting Overlapping Containers
- Experiment with Sticky toggle to get desired results
- Adjust Z Index to correct layering order
🎨 Visual Harmony: The Final Touch on Container Overlap
The Z Index and Sticky features, when used in harmony, culminate in an aesthetically pleasing overlap effect that enriches the user experience.
Crafting an Artistic Scroll Experience
The overlapping technique breathes life into your page layouts, creating an engaging and interactive visual journey.
Balancing the Overlapping Containers Aesthetically
- Ensure visual consistency throughout the scrolling process
- Maintain hierarchy through careful Z Index increments
🤔 FAQ: Mastering Overlapping Containers in Elementor
Addressing common questions can demystify the process of creating overlapping sections, which enhances both functionality and design appeal.
🎓 Understanding the Basics of Overlap and Stickiness
Angelina finds answers to common inquiries, ensuring users can confidently navigate and manipulate container settings for optimal website performance.
Common Queries and Explanations
- Z Index: How does it affect overlap?
- Sticky: When should it be applied or removed?
Conclusion: Elevate Your Web Design with Elementor Overlap Techniques
Implementing these steps to create sticky and overlapping containers can transform a static page into an immersive and dynamic experience. By mastering Z Index and Sticky properties, you empower yourself to construct captivating designs that engage and retain visitors. Enjoy the creative process and watch your website come alive with every scroll.
🚀 Take Your Website Design to New Heights
Harness the full potential of Elementor’s features to make your website stand out. With the right overlaps and sticky effects, your design artistry will shine.
Endnote: Unleashing Professional Design Tactics
This tutorial enables designers to achieve a sophisticated website look with ease. Continual experimentation and customization lead to unparalleled user interfaces that both captivate and impress.


